Finally I have had the opportunity to get some serious work done. The '55 now sits 3" lower in the front thanks to some recompressed Pedders sports rider springs. The front guards and beaver panel have also been resprayed in the original Toyota 'AZ / buff'. I also had the chance to install some fender mirrors while the guards were off. It is really beginning to look the part (finally) with the new stance, and now that the car is actually the one colour.
Stance baby. Note the minimal guard clearance - simply guess work on my part. With some minor guard rolling, it worked out well.
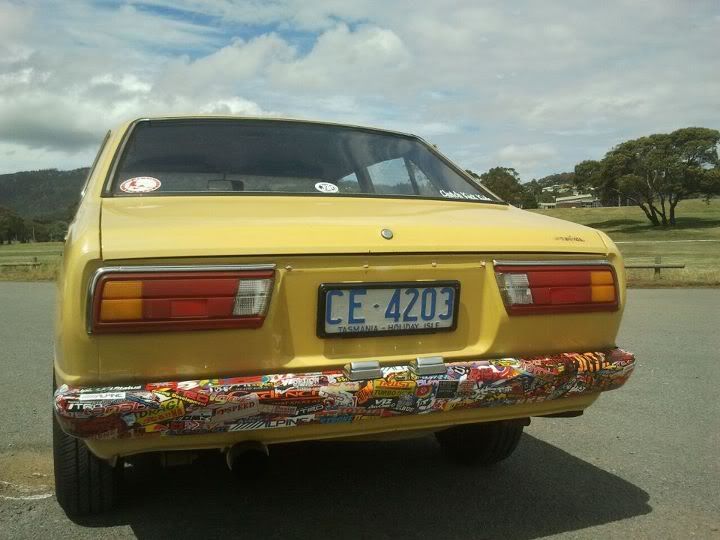
The next mod is truly a love or hate thing. I picked up a KE30 rear bar for $5, though I probably paid $4.95 too much for it. Described to me first as "surface rust" before pickup, when it came to purchasing the bar, it featured rust holes the size of a 50c piece, hardly any decent chrome to speak of, deep scratches, random paint, and general neglect. So where's the attraction? - It was straight (at least structurally). It was beyond repair, and could never be brought back to its former glory, but I thought I could do something with it. With some rust-kill, spot welding and filler, primer, a red basecoat, 20 sheets of "JDM EBay special" stickers/decals, and about 3 layers of clearcoat, I had a go at "stickerbombing" - a major love/hate trend, I'll admit, but I am of the opinion it can be done tastefully. Here's the result:
Love/hate indeed. It might look out of place now, but it will suit the overall look of the car eventually... Still beats the stock bar with ruined end caps.
Next stop: Dump the rear 3" on blocks so it doesn't look like a flatbed. The lower leaf mounts need to be drilled out to make way for the thicker u-bolts, but hopefully it'll be done by the weekend!
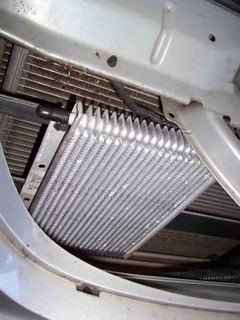
As of today, I am back to modding, and consequently, back to blogging. The past 3 months were spent making sure I didnt have to spend a sixth year at Uni, and now that results are out and graduation pending, much more time can be spent on my '55 and getting back on track. The air horns were a success too, and I have scared the life out of many a pedestrian. Oil cooler has been mounted too; now I just need to fabricate some proper brackets for my relocated plates.
Rest assured, the time absent from modding the car, I did spend sourcing parts, including some KE20 LCAs (for a little negative front camber), some fresh front indicators, a rusted old KE30 rear bar (for $5 mind), an unmodified cluster surround with original stereo (so I can relocate my Alpine CDA near the shifter), a rear wing from an AE82 seca I will modify and add as a front lip, and various other bits and pieces.
I spent this morning trying to rebirth the original KE30 rear bar with countless amounts of Autosol, cutting compound, and 1200 grit, to no avail. Seems as though the rust is beyond repair. The rusted look can work on various rides, but is not to my taste considering my front bumper is mint, except for the side rubbers. With this in mind, I am experimenting with the idea of stickerbombing + clearcoating the rear bar, and retaining the number plate lights and bolts in treated chrome just to see how it looks. Honestly it is a fad which I love/hate, depending on the overall look of the car and the theme, but I think it could work with the rest of the plans for the car. Stay tuned for more regular updates, and finally, some progress!
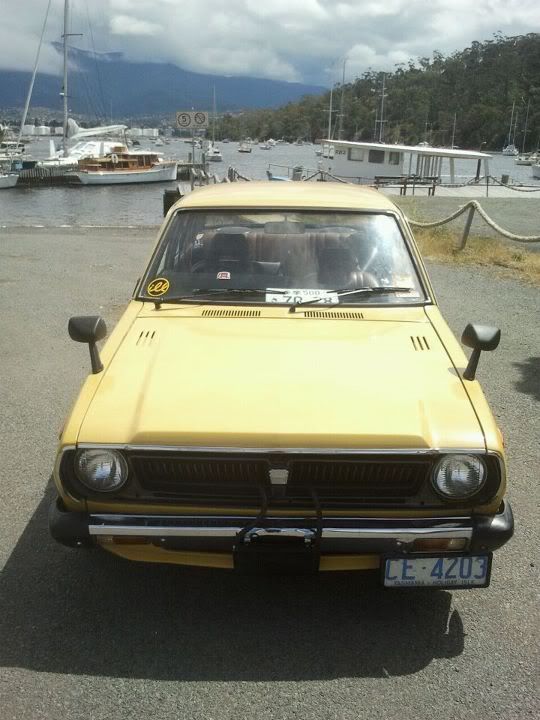
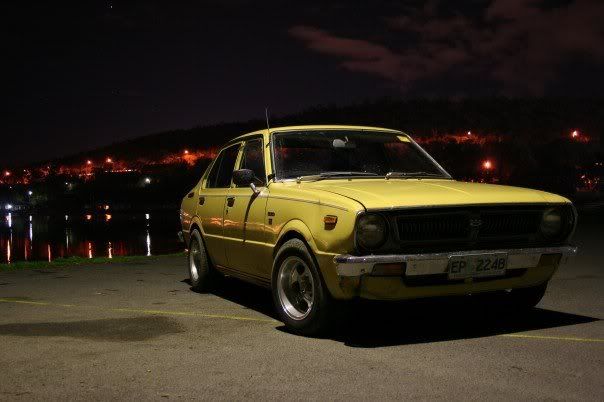
A recent snap. Next step is to replace the side rubbers, Autosol the chrome bumper, and add my AE82 seca wing as a lip :)
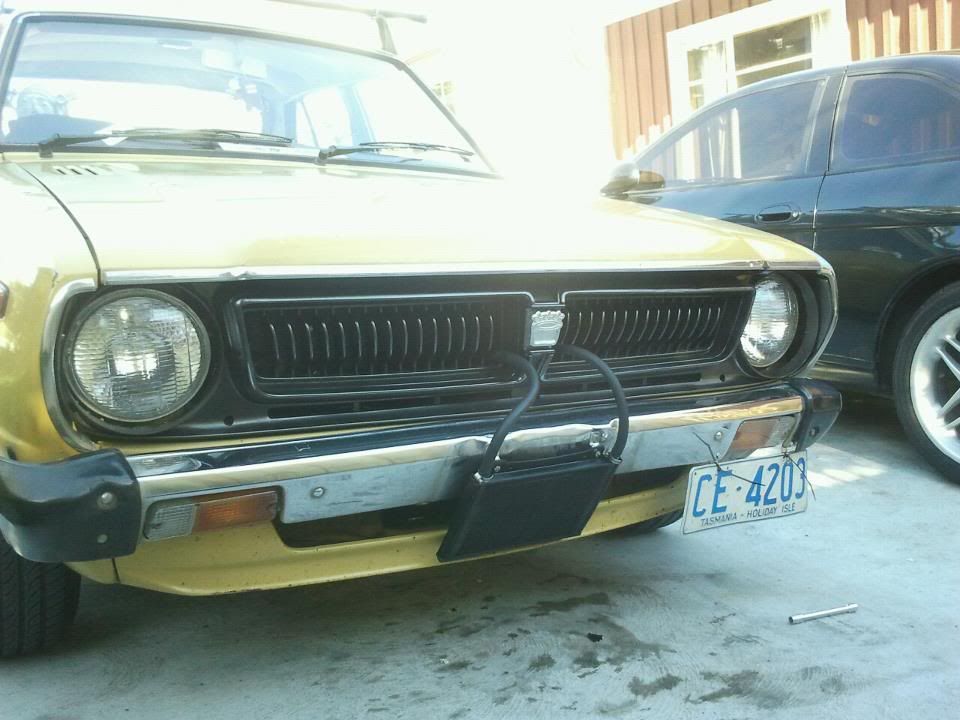
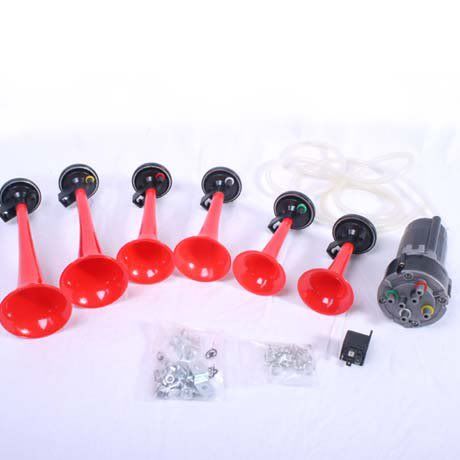
I got around to mounting the air horns today before Uni, but I have yet to wire up a relay.
In fabricating a bracket, I drew some inspiration from the 6666 S13. I love this car. It seems to have mild cues of Bosozoku styling without being too over the top, such as the illuminated dice, and the musical air horns clearly visible through the front bar opening.
Not to completely rip Miura-san's idea off (okay well kind of), I fabricated a makeshift bracket out of strap, and mounted the horns downwards so as to protect them from water. I am still in two minds as to whether I utilise my stock horn button, or run a separate switch. If I'm going to get defected, at the end of the day, it will be for something a lot more serious than the horns, so I don't care too much for running another switch :)
Before I finish installing the horns, the bracket will be painted black for stealth and longevity, and the compressor and hoses will be mounted parallel.
Already I have decided the roof racks don't really suit the overall look I originally intended to go for, so they'll only be used of a weekend when Im cruising around from hill to hill with the Huffy Slider. Then again, the car is 3 different shades of yellow, 2 different primer colours, and has bogged rear guards, so i looks like crap right now anyway.
I also headed to my local wreckers and picked up a transmission cooler from an old Falcon. In true Bosozoku style, this will be mounted on the front bumper :)
Finally, I decided my blog needed some brightening up, as the old theme was looking dated. With the onset of a heap of assignments, work will probably halt again. Hopefully the project will be 99% done before the end of semester :)
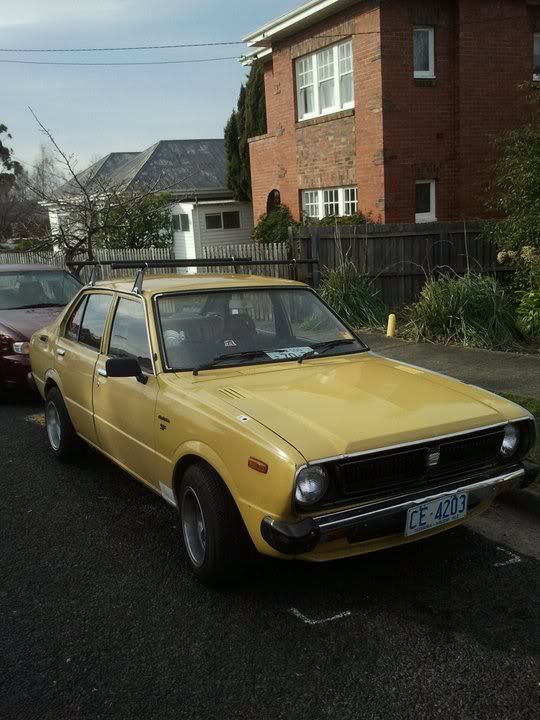
I finished prepping and painting my tip-shop roof racks. Notably the paint cost more than the entire setup. I went with metallic gunmetal for the inner bracket, to match my grille and side vents, and chrome plate paint for the outer brackets, to match my gutters. Unfortunately at stock ride height, the rolla looks grandpa-spec, but at least the cops might leave me alone for a bit.
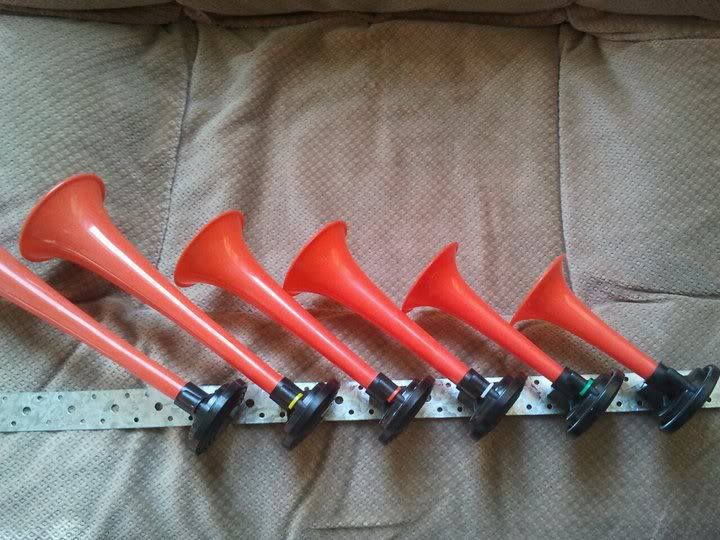
I also snagged a set of air-horns from EBay for abut $35 delivered, so I'll be ready to scare some innocent bystanders! I sourced another front guard which actually fits properly, so once it, and my AE82 wing, is painted, it will look the part. I have been putting off lowering the car for way too long now, so hopefully I can work something out this weekend.
This is how Grandpa rolls. Hopefully when it is finally slammed it will fit together.
So browsing the net today I stumbled across this little gem (at least in the eyes of the Jap rat-rod scene) - a Civic sedan from the UK which has taken styling cues from bosozoku culture, rat, and Euro, and it works very well.
I'm not a fan of the rust, but I suppose it compliments the style. Whilst the KE55 will stay true (mostly) to the bosozoku style (save for a ridiculous, massive kit), I think that by applying some styling cues from this ride to the '55 will look sweet. With the images of the said civic fresh on my mind, I headed to my local tipshop to grab a set of old school roof racks, with complimentary surface rust, for the measly sum of $5. Whilst there, I found a set of mint white venetians from somebody's house! Not being able to justify $200+ for a set of custom venetians for the '55, I grabbed these for a pittance - $5 also. I will work some magic with my trusty angle grinder and see how it goes - It sounds ridiculous and tightarse, but essentially if it doesn't work, what have I got to lose?
I also disovered that the much sought after GE Sigma lower control arms serve to give a KE55 2.5 degrees of negative camber (by comparison to the 5 degrees gained if the same LCAs are adapted to a KE70). With this in mind, I am seeking some Sigma LCAs, as 2.5 degrees will provide good stance without being too over the top. At $62 per corner, premature tyre wear isn't a big concern! I have just started to clean up the racks with some rust converter, and they'll be seeing a nice coat of metallic gunmetal to match my restored front grille and side vents. To detract from the pensioner perception will be an AE82 seca rear wing, reverse mounted to act as a front lip, a common trend in Japan with the rolla boys, and the 3" blocks and springs will be going in. Once the venetians are in, the rolla will be a blend of bosozoku, Cali and classic JDM styling - I have slightly departed from what I had originally planned, but this isn't inconsistent with many projects. Rest assured this project will actually be finished, and essentially it's all for fun at the end of the day.
It has been a month since my last mod. let alone post, but rest assured, I am not losing interest in the project. The rolla has seen a little bodywork as of late, and I cut out the typical KE30-55 guard rust, welding in sheet metal, and sanding/smoothing to resemble an actual car, as opposed to a hunk of rusty crap that it once was. I'll be rolling the guards properly this weekend too - finally! Alongside this, I have spent most of my time on my Soarer, retrimming some of the interior, changing all the old bulbs to LEDs (albeit tastefully - no rice!), and fitting another pair of guards as the old ones were a bit shabby. Hopefully I'll have the Soarer on the market at the end of the week, and I can finish off the '55, to make way for another project in the not so distant future (still a Toyota of course). I am still addicted to midship memories of past, so another SW20 GT is on the cards, at least to replace the JZZ30!
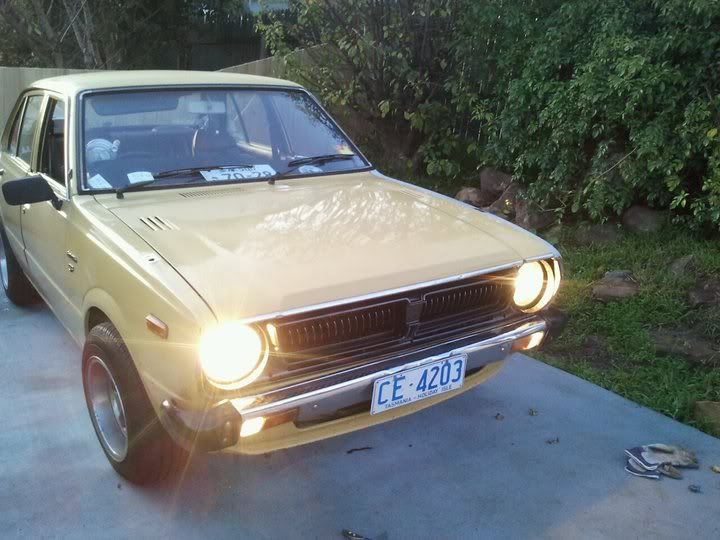
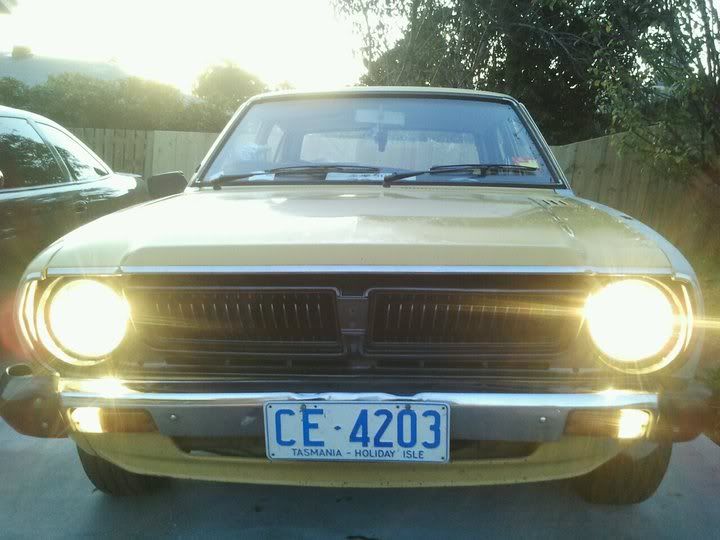
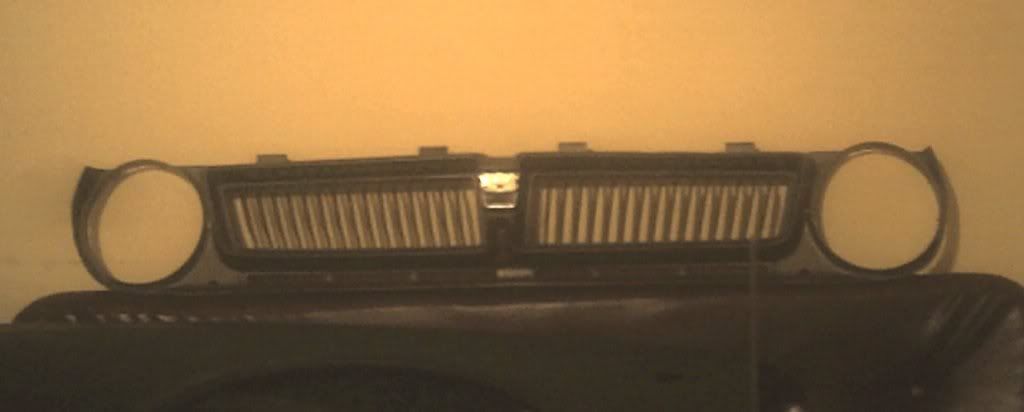
Today I got around to fitting the rev.1 KE30 grille and twin headlights. Whilst straightforward, the conversion required cutting off the old brackets which supported the old square-headlight buckets with an angle grinder. Various guides on forums noted they can be bashed back / bent, but cutting them gave nice. ample clearance for the new buckets (note: no turning back now!).
Despite the need for the front badge (about to be chromed), the KE is starting to look the part.
I had a love/hate relationship with the square lights and 80's-to-the-max honeycomb grille, but the rev.1 KE30 front end suits the rest of the body shape down to a tee. Cosmetically, this is all I have planned for the car, save for some fender mirrors which still need to be installed, and the front quarter panel which still sits in primer from the previous owner!
Exams are done now, so modifying will be paramount whenver I get the time / parts. Some lowered front springs are on the way, as is a 32/26 Weber carby.
I have however picked up another toy - a Huffy Slider! A lucky find, considering these things have been discontinued and haven't been stocked in KMart since 2010. I also secured 5 sets of Green Machine wheels from the same supplier, but I am only keeping 2 sets for myself, and thus, I will be passing 3 sets on. They are currently listed on EBay and Gumtree. For the latter, check the links in my sidebar :)
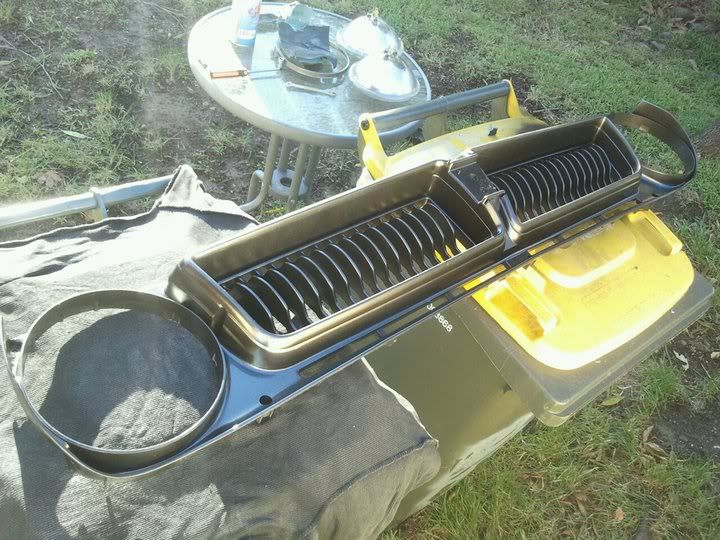
As of today I am 2/3 of the way through exams, so I figured a bit of DIY was in order. I decided to fix up the Rev 1. KE30 grille from under the house, and treated it to copious amounts of fibreglass, silicone, and sanding, then after a decent amount of wax and grease remover, it was coated liberally with 3 coats of Gunmetal Metallic Flake enamel. To finish off, I sprayed on a few coats of high gloss clearcoat. The results speak for themselves - it looks pretty pimp.
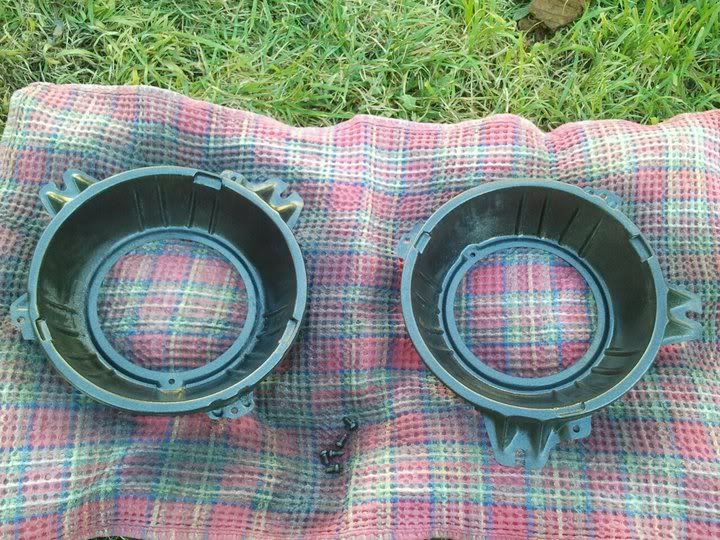
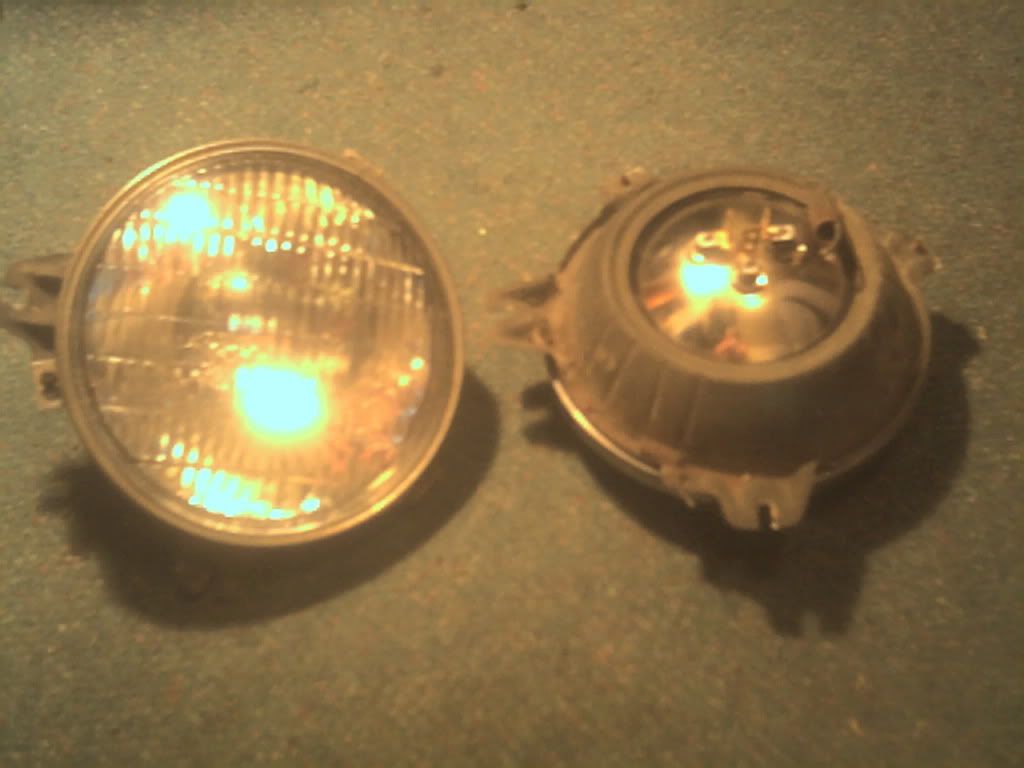
To finish off I also gave the original headlight buckets some TLC by sanding them out, getting rid of the surface rust, and giving them a few coats of the same paint. All that will be visible from the exterior is a tiny bit of metal behind the chrome trims, but I figured I had to kill the rust anyway, and they came up very nicely.
I have located some original chrome headlight rings which are in dire need of a good polish, and the original "C" badge is begging to be rechromed. After this, it is a bolt-in affair for the conversion. To top it off, brand new sealed beams will be used.
Now to tackle the other 95% of the body which is begging for some TLC!
Also I bought some lowered Pedders springs from a RollaClub member - decided to lower it once and lower it properly. If they don't give me enough drop, they will be recompressed (or maybe if I get desperate I'll just cut off one little coil!)
So the poll results were clear, the highest voted mod was to lower the '55, and to pump the guards, so that will be happening over the next few weeks after exams. A few mates have guard rollers, so subject to availability I'll try and snag one for a day, but failing that, it has been proven that a small piece of pole (ghetto style) can do a good job. I am not too concerned about any effects on the paint, as the rear guards need to be repainted due to rust repairs, and the front quarter panels will have badges (and maybe indicators) shaved, and will need to be painted also.
Runner up in the polls, at 27% of votes, was to fabricate a bosozoku-style exhaust (at least a bolt-on - for offroad use of course!), so the next poll will be regarding what style of exhaust (i.e. straight upswept pipe, dual 45 degree angle pipes, etc) I will fabricate and install.
The '55 is back on the road as a daily, with a freshened starter motor. Whilst I was at it, the '55 received an Optima Yellowtop dry-cell battery I used to run in the Soarer (overkill, but it was just sitting there), and some new 4-gauge earthing wire, because the old one was frayed and corroded. I also replaced the terminals, and tidied up the stock wiring with some cable ties, heatshrink, and plastic insulation tubing. I now have a lot more faith in the electrical system, and I have confidence the car will actually start first pop every time now :)
A week driving the Soarer brought to attention two things. 1) My Corolla is slow as hell (man it was nice driving a fast car every day). 2) My Corolla is cheap as hell (it was also bloody expensive driving a fast car every day).
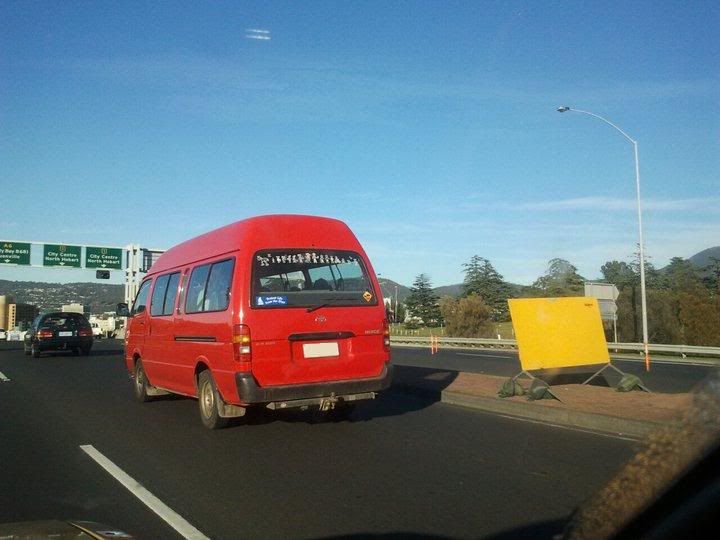
Stay tuned for when the Rollabus is dumped on its guts :)
Having had the clutch cable bugger up on me already, I had the starter motor die today. Still starts with a bit of a tap, but its on a list of things to fix now - Im my experience, starter motors just keep getting worse from here on, so it's best to get it fixed ASAP.
I made some big decisions today - it is time to sell the Soarer. It is sitting there not getting the love it deserves aside from a single day a fortnight or so when I have time. Furthermore, with the cash from the Soarer, I might fund a 4AGE / 4AGZE swap for the '55. Not a definate at this stage, but It's on the cards anyway - it'd be a heap of fun, and sleeper-spec to the max. My old man is a VET construction teacher at a local College, and with his automotive connections, it'd make a nice class project for the automotive boys and would hardly cost me a cent. Something to think about...
Starter motor is being fixed tomorrow for a paltry sum, so the 4K lives on (until later anyway).
I had a small problem today. I say small, but at the time it seemed a lot worse at first instance than it actually ended up being. Driving to Uni this morning, I lost all pressure in my clutch pedal - not a sound, not a smell - no indication of trouble - just the inability to shift gears. To add insult to injury, this occurred on the Tasman Bridge. When you're driving a 4-speed manual and you're stuck in third gear amongst heavy traffic, there's nothing worse. Much to the dislike of surrounding motorists, I had no choice but to keep my revs up and weave around traffic Paul Walker-style until I could safely pull over just off the Bridge.
Upon inspection, I found a very loose clutch cable (almost completely pulled out of the firewall grommet), which had detatched itself from the pedal and was flopping around. In such situations you discover makeshift repairs / neglect such vehicles have had in a past life. One of the previous owners had attached a hose clamp to the cable (evidence that it was already working its way loose), which seemed to be the only thing holding it in place.
Being the disorganised enthusiast that I am, I still had a flat head screwdriver in the car from installing my speakers, and within minutes I was back cruising once more, with a nicely adjusted clutch.
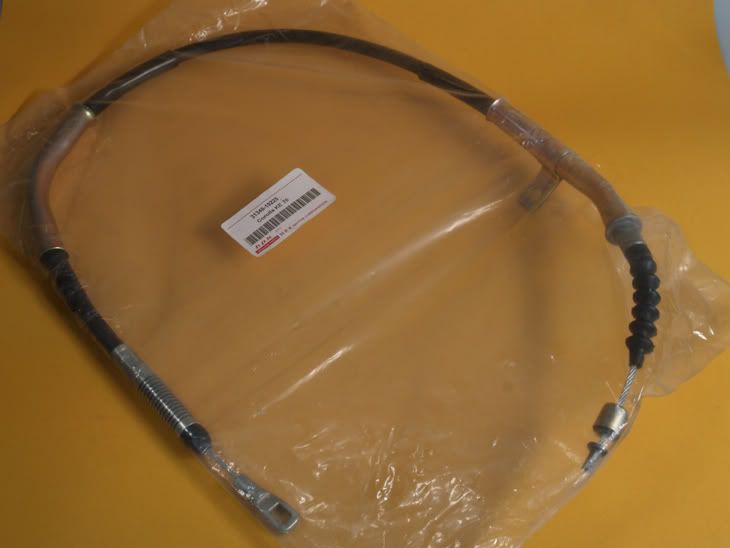
Not wanting to take any more chances, I jumped on EBay and got myself a new clutch cable.
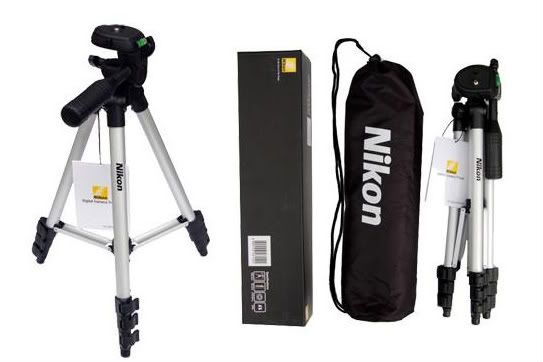
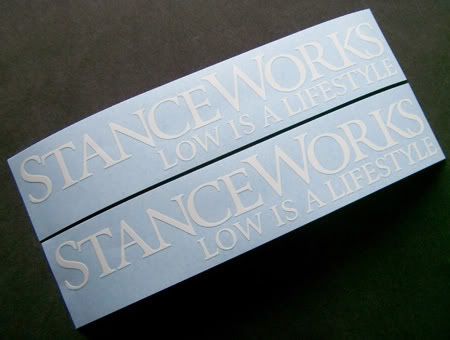
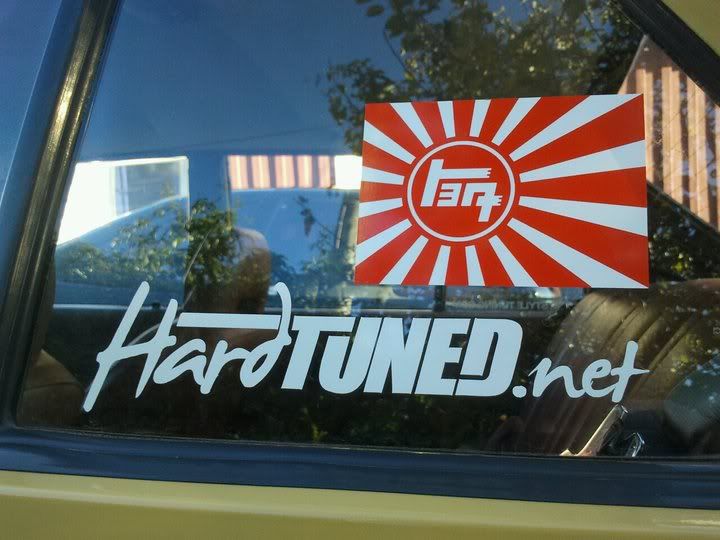
Whilst I was there I grabbed a tripod for my camcorder for the purposes of my YouTube build, and a "Stanceworks" sticker set, sure to add another 10kw! Now I have no choice but to dump my car on its arse ;)
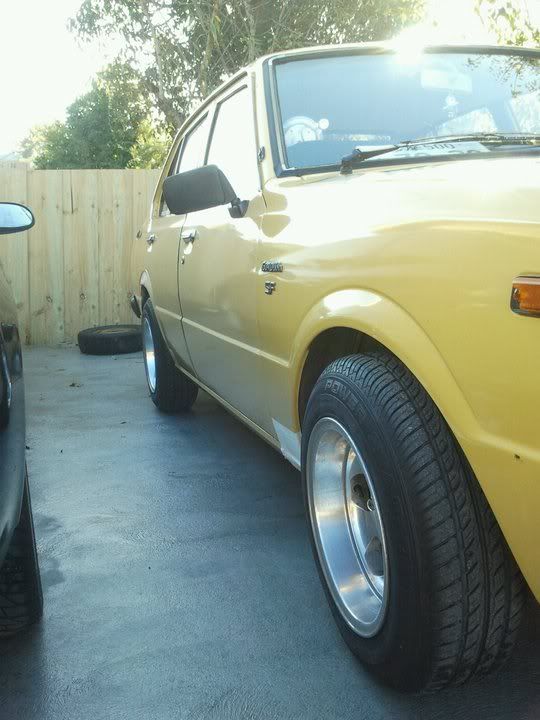
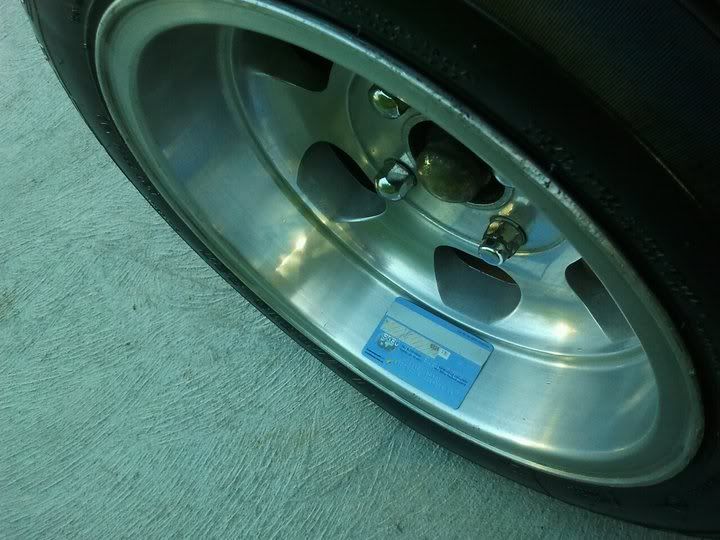
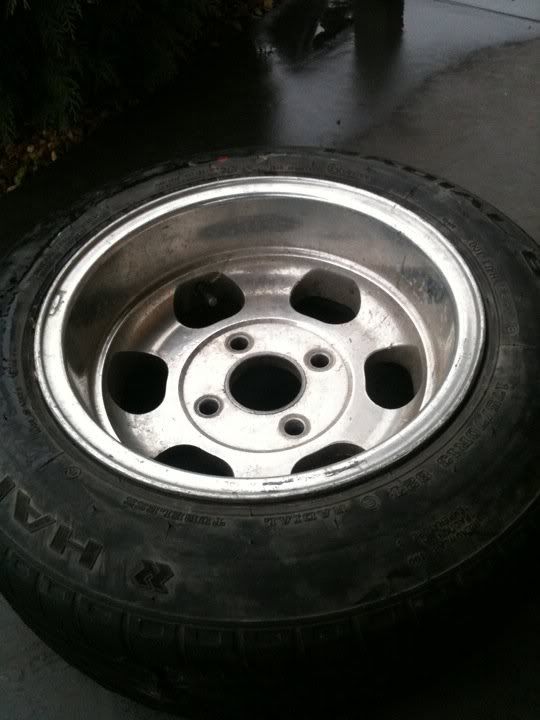
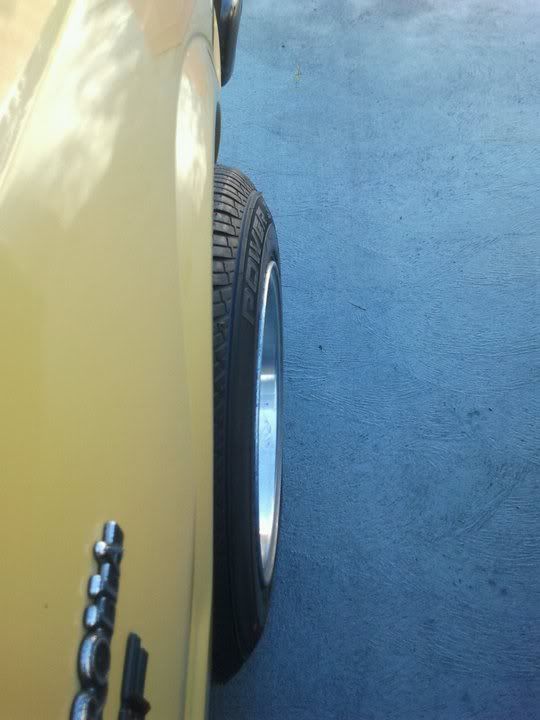
So I managed to pick up some tyres for a very nice price - $67 each, fitted and balanced, for a set of Kuhmo 175/70R13. The boys at the shop weren't too happy that they were stretching them onto a 13x7 rim, but they were an improvement over the 165's already on the rims when I purchased them (notably, with drift damage + flat spots + chunks missing from their KE70 slider days). Within an hour, I had the new soles on my shoes, and took the rims back home to be fitted. These rims seem to have been manufactured before offset was stamped inside the wheel, but I'll be sure to measure inside next time I have them off. I really want to know, as these stick out from the guards a fair bit (most notably on the front), but look 110% better than the old jellybeans (i.e. no rim tuck with standard ride height on the rear).
The new rims look great, but highlight the desperate need for the car to be dumped. There is so much guard clearance at both the front and rear, I can fit an entire foot in between the wheel and guard. Regardless, here is how it looks so far:
Got dish?
This morning I also met up with a contact through the rollaclub.com forums, who supplied me with a revision 1 KE30 front grille for a good price, and still intact (albeit, in need of some TLC for the purposes of my project). He also sold me some new 7" sealed beams to fit, and some original brackets. I now have a complete ke30 front end, bar the chrome headlight rings, but I'll be sure to snap some up whenever they become available (most are rusted / dented to buggery by now).
In time, I might replace the sealed beams with semi-sealed beams so there is provision to fit some HID H4s, or at least some xenon bulbs, but this will do fine for the moment.
To give you an idea of how this may look once completed, compare my car in its current KE55E state (latest revision front end with squared off headlights / honeycomb grille), with a mates old Rev1. KE30 (without the battle damage!)
A recent photo of my '55 with the old wheels. Note the dull front end. In my opinion it looks like an unsuccessful crossbreed between a KE70 and a KE30, but a signifier that '80s styling was in full swing (mine is an '81 model - the last year that KE55s were sold in Australia)
Nick's old KE30 - ironically he had exactly the same rims, and the same snot yellow paint job. To me, this front end does the rest of the body shape justice, so it will be next on my list of things to do.
The Rice
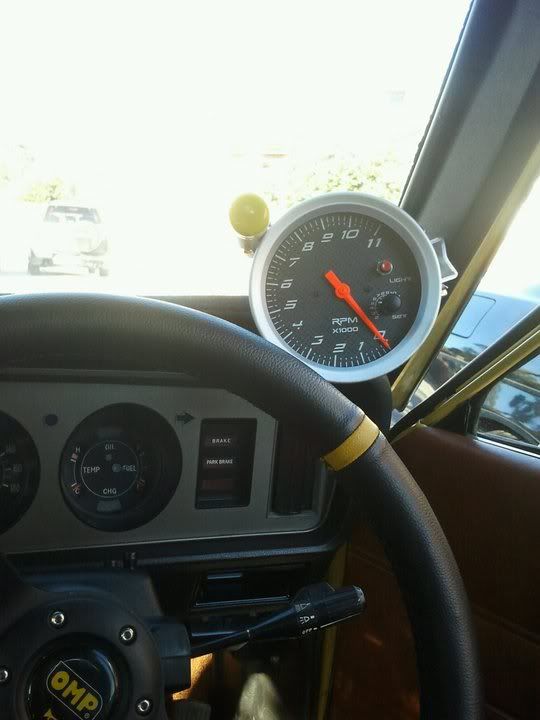
And last, but definately not least, I shamefully installed an aftermarket tacho... Of the 5" variety... Love it or hate it, I can justify installing one because A) My '55 doesn't have a tacho dash, nor was it ever an option, and B) The 4K doesn't have a rev limiter, being carburetted, so I need to know when to shift while I'm making the most of my 45kw, haha. Unlike several Hyundai Excel drivers I see sporting a 5" tacho, I have not installed this with the intention of improving/optimising the performance of my car, as I am fully aware my car has NO performance value whatsoever, but I did spend a fair bit of time shopping around for something which would compliment the look of the car (i.e. I wasn't after a white-faced tacho with fake airbrushed flames, etc)
At the end of the day, I contacted Blake at ModX, who had already helped me out in the past with my authentic JDM dildo shift knob. He had in stock a 5" tacho with shift light, featuring a black face, and silver bezel, the same scheme as my existing stock dials. For about 1/3 the price of an Autometer Pro Comp (my other preference), Blake hooked me up with this item. Installing it was a breeze, and it was as simple as hooking up a wire to the tacho signal (in my case, the negative side of my coil, as my 4K uses an electronic distributor), and the other three wires to earth, power, and illumination - all borrowed from my aftermarket stereo wiring. The tacho utilises a quick, easy method of selecting the shift point with a knob selector, and a background illumination selector button (I prefer white, in order to maintain a more stealthy look). The tacho simply screwed directly onto my a-pillar with the stock corolla a-pillar mounting point, and I didn't have to hack up my stock trim, unlike most other vehicles which don't have provision for it.
Usually fitted to "fully hektik" Hyundai Excels or Mitsubishi (bitsashitty) Lancers, the tacho actually looks quite at home in the KE55. At least I know and admit that my car is slow :)
In this instance, coming from someone who would gladly support the banning of undercar neons and vinyl graphics, rice actually tastes nice. The tacho serves a purpose, and doesn't detract from the look of the car. Thanks again to ModX for the fantastic customer service and competitive pricing.
Oh, and if anybody wants to follow suit, the boys at Mighty Car Mods provide a comprehensive video on how to make your car as fully hektik as mine, using their highly acclaimed king of rice, the TRD Laser "TRDLZR"
I have exams in less than 2 weeks, so modding will be kept to a halt over the next fortnight. Rest assured, stay tuned for my front-end upgrade, and some more JDM love.
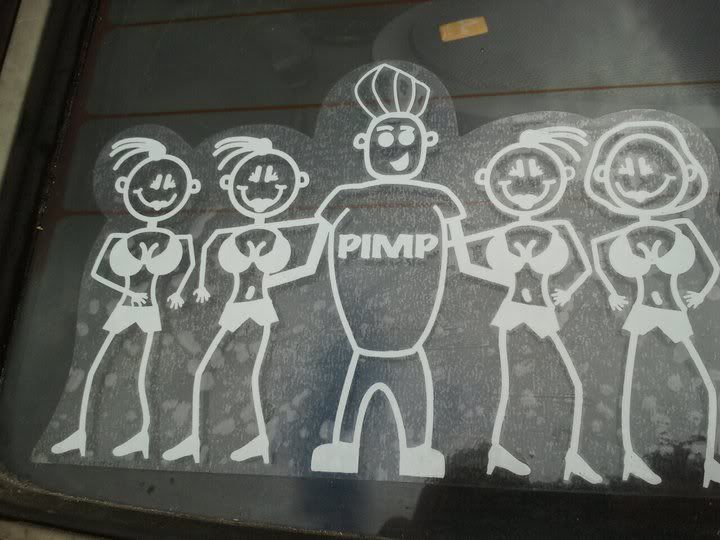
Just a quick one. I don't know about you, but I HATE those "My Family" stickers. Honestly, who cares how many kids, dogs, cats, horses, fish, grandparents or mistresses you have? The world at large do not need to know, and frankly, nor do they care.
The worst offender I have laid eyes on. I don't know if Mummy and Daddy are devout Catholics, if they are too poor to afford contraception, or if this was intended as a joke, but regardless - this was ridiculous.
It was time to seek revenge...
My answer to the 'my family' sticker trend, much to the disgust of tailgating housewives in their Nissan X-Trails and BMW M5s.
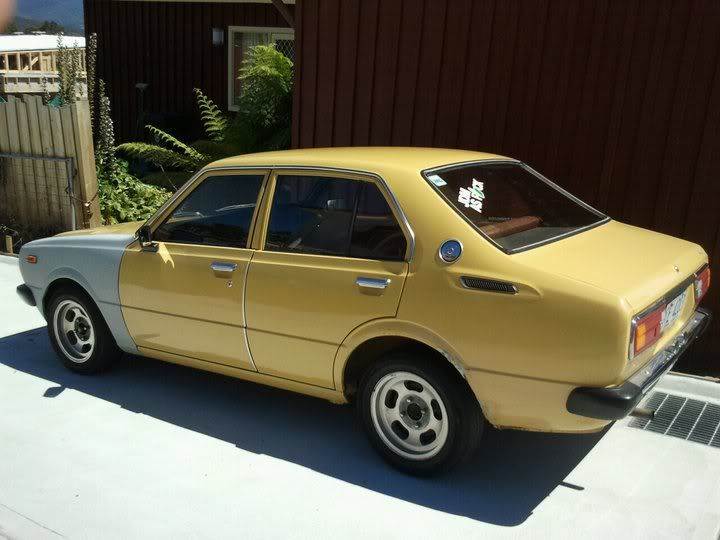
First off, I am Michael, this is my 1981 KE55E Toyota Corolla "Casey", and this is the journey to bring her back to a respectable standard...
I originally bought her as a daily driver to drive to Uni and work whilst I work on my JZZ30 Soarer, but I saw some old school pimp potential in her, and the modification bug bit. Upon purchase, the Corolla was, simply put, a rusty old snotbox in dire need of some TLC.
That being said, the '55 had a reasonably good interior (the caveat being a torn/warped lower section on the passenger seat), a decent 4K, original logbooks, owners manual and service history, and moderately low kms for its age (159,000). I picked it up for a very nice price with 6 months registration.
The rolla was apparently purchased and owned by a 'little old lady', reflected in the original purchase receipt still intact within the owners manual. The subsequent owner, from who I purchased Casey, had installed an immobiliser, had hacked away at the dash to install an aftermarket stereo (much to my disappointment), and had slapped on a set of 'jellybeans', and had evidently enjoyed some slideways action and general hoonery, evidenced by the crooked front chrome bar, stone damage to the front lip, and repaired/primered front passenger quarter panel. My only addition upon purchase was the application of a "JDM as F#ck" sticker (a sign of things to come), and the removal of the shocking camo steering wheel cover. In the glovebox I also found an old thermostat and a genuine Toyota rear main seal, still in packaging - great for inspiring mechanical confidence. Later on I saw why - the thermostat needed replacing (in fact it just needed a thermostat), and it wept oil like a fountain - these were the first things to be rectified, as well as a full cooling system flush with Tectaloy, some new radiator hoses, some fresh coolant, and oil and filter change, and new spark plugs.
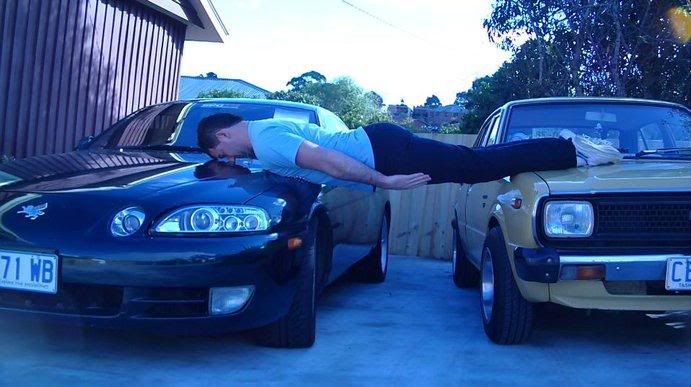
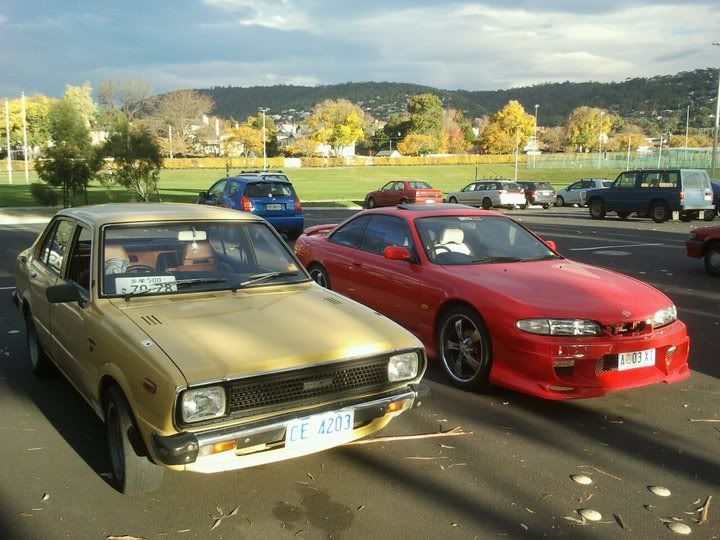
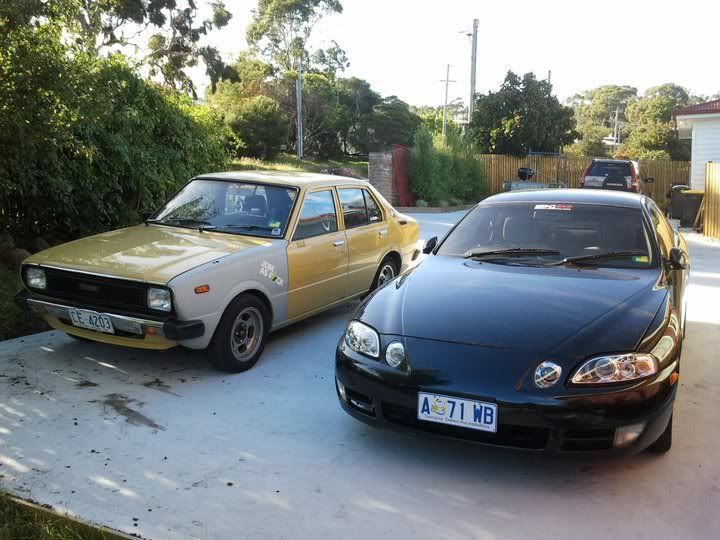
My toys - beauty and "the beast"
A little later on during ownership, having viewed some HPi DVDs, a particular style of modification, featured at Daikoku futo (a popular Japanese cruise/meet spot for car enthusiasts) caught my eye - "Bosozoku" style, or more correctly "Kaido Racer", with styling derived from 70's jap racers / bosozoku motorbike gang styling (young jap punks with yakuza ambitions).
I figure this style of modification is a love or hate thing, but in an uncanny way, I find boso cars very cool (within reason, when modified somewhat tastefully). Fact of the matter is, its intended as daily, so whilst the rolla won't be as extreme as most bosozoku rides (I'll be taking cues from both bosozoku and JDM styling), low'n'slow is the name of the game - I like to think of Casey as my cruiser, and my Soarer as my performance powerhouse :)
Modifications so far:
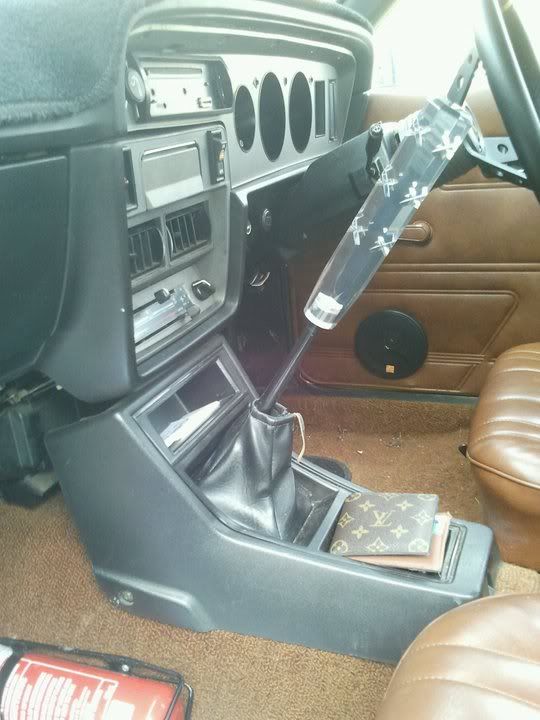
JDM 220mm "Dildo" shift knob, OMP deep dish steering wheel, and a fire extinguisher (for those stifling engine bay temps, haha)
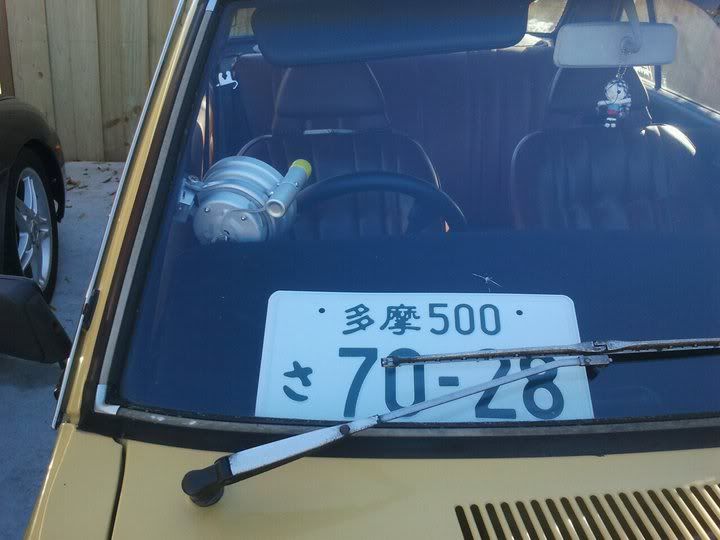
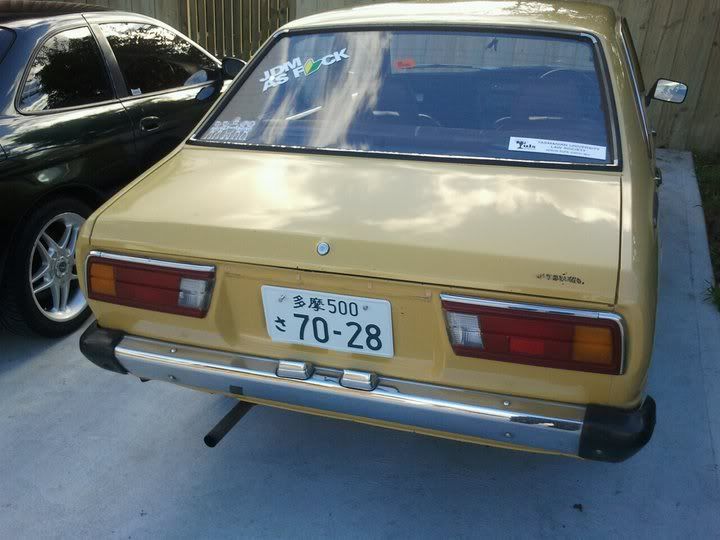
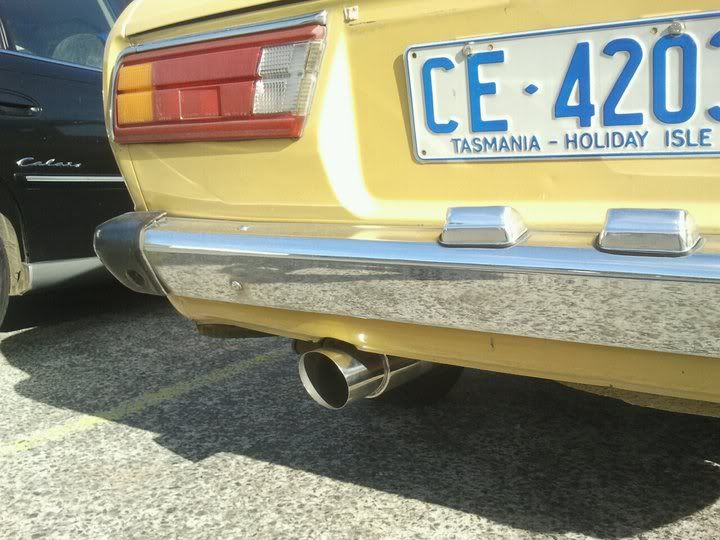
Authentic JDM plates (for show use / display in windows). Note the shaved rear garnish, and soon to be removed stock exhaust.
New Exhaust - 2" straight through, and a dirty cannon with 3" tip (good provision for the attachment of a bosozoku style 'bamboo' pipe later?)


